如何创建提示画廊
使用Midjourney、ChatGPT和Pinata
不确定如何利用Midjourney和ChatGPT等AI工具的优势?你并不孤单。本文将指导您有效地利用这些技术,帮助您与快速发展的人工智能领域同步。
我们将专注于使用Midjourney、ChatGPT和Pinata创建Prompt Gallery——这是一个将人工智能、创意和个人表达融合在一起的项目。Midjourney生成图像,ChatGPT构建网页,Pinata托管网页,使我们的创作可以轻松地展示给全世界。最终,您将拥有类似于这个样板的内容:
超越一个有趣的项目,这个创业项目提供了宝贵的人工智能技能,鼓励创造力,并作为进入人工智能巨大潜力的垫脚石。
项目灵感
Twitter和Instagram是分享你最新旅途照片和提示的好方式,但我想创建一个独特的环境来分享我的照片。受到博物馆的启发,我希望网页拥有简约的白色背景,将焦点放在图片上,并使用简单的博物馆标签来分享提示。
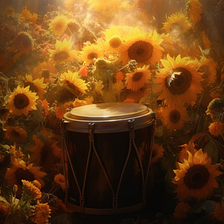
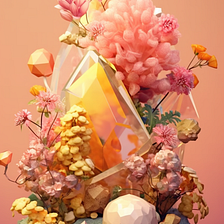
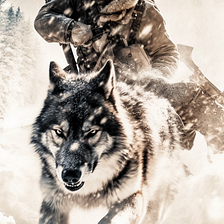
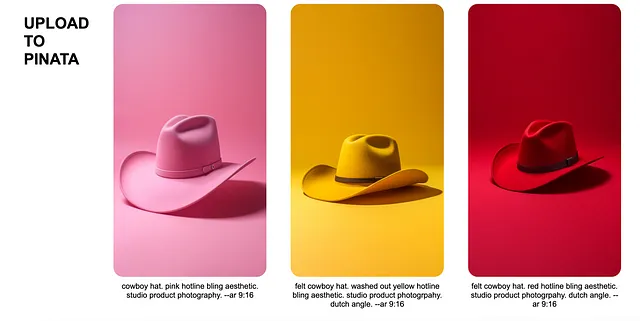
关于这个系列,它名为《聚光灯拉索》。我一直是牛仔帽的粉丝,想创作一个致力于它们的系列。从Drake的《Hotline Bling》视频中汲取灵感,我想为每个牛仔帽创造一个独特而丰富多彩的环境。希望你喜欢!
有了这些,让我们开始吧!
使用Midjourney生成图片
Midjourney是一个特殊的平台,可以让您生成创意独特的图片。如果您是第一次使用Midjourney生成图片,请查看这个详细的教程,它会讲解如何使用Midjourney Discord来提示图片。如果您已经成功进入了Midjourney Discord并成功提示了一张图片,那么这个教程将会帮助您深入理解。
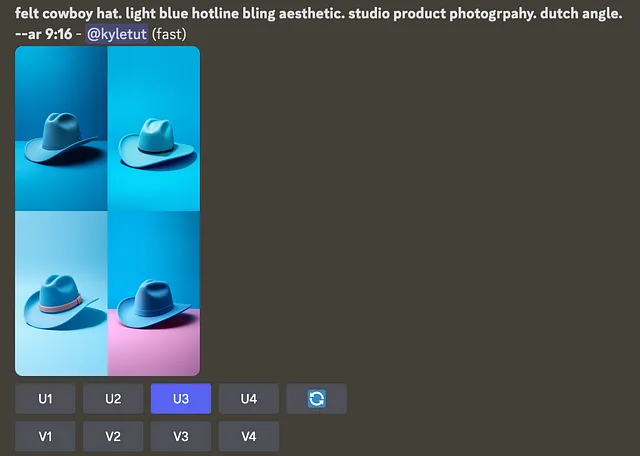
在这个教程中,我用Midjourney提示了我们的图片:

无论您最终选择哪些图像,您都希望在下载之前将它们升级。要升级图像,只需选择要升级的图像的U1、U2、U3或U4即可。
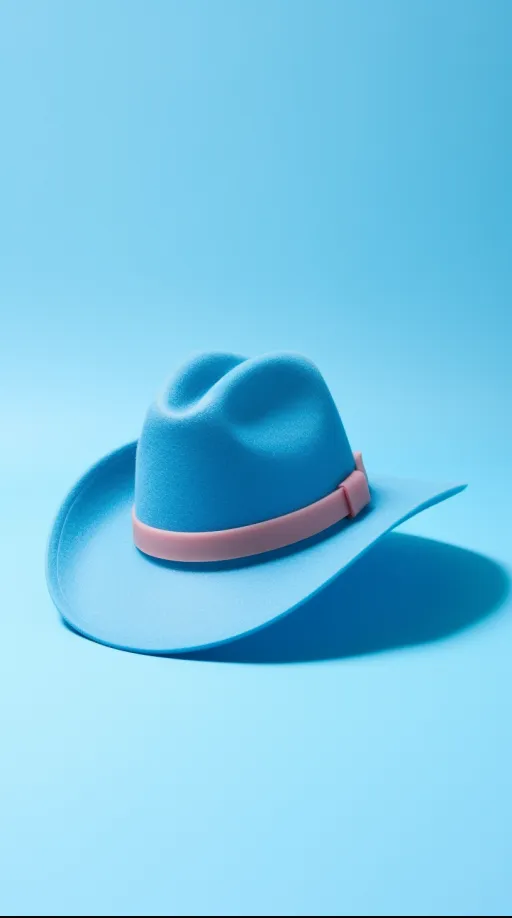
放大的结果:
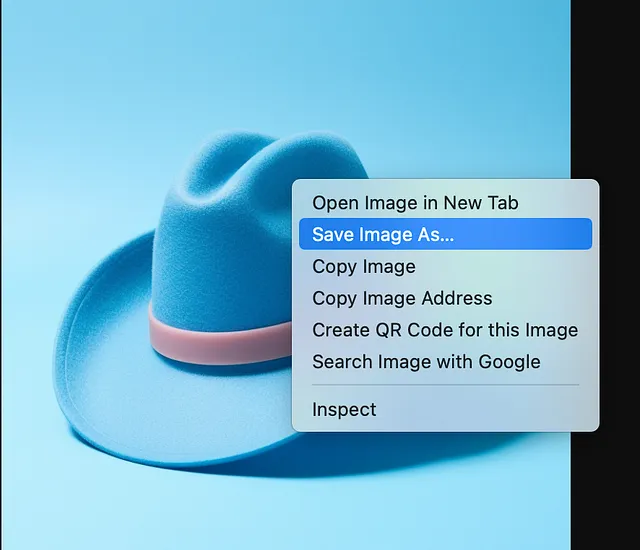
接下来,您需要将来自Discord的图像下载到设备上。为此,请单击图像,再单击左下方的“在浏览器中打开”。
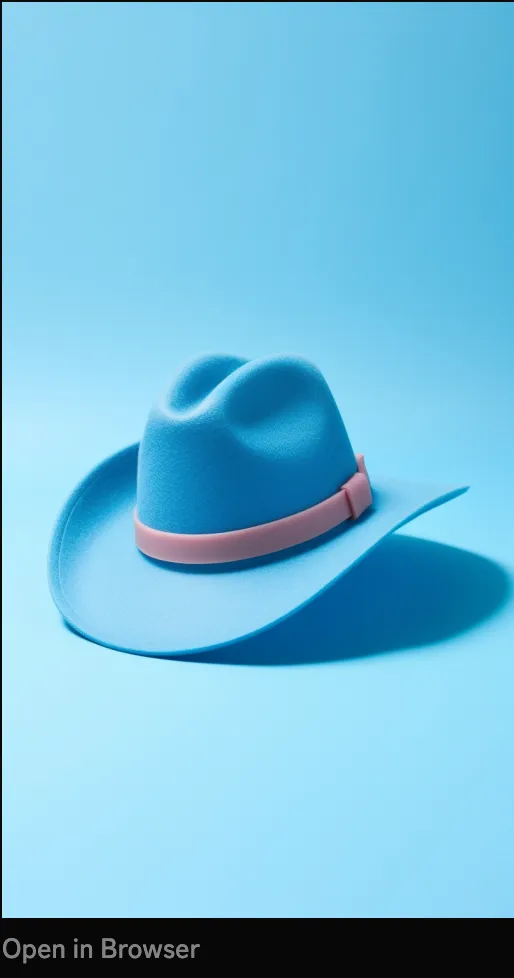
一旦图片在浏览器中打开,右键点击 “另存为…” 将其保存到设备中。
一旦下载完成,您希望上传到Pinata生成图像的链接。在下载之前,您可以使用来自Discord的链接到您的设备。但是,这会将图片的生命留给Discord和Midjourney的保留政策支配。为了避免无法访问链接,请上传到Pinata或其他提供商。
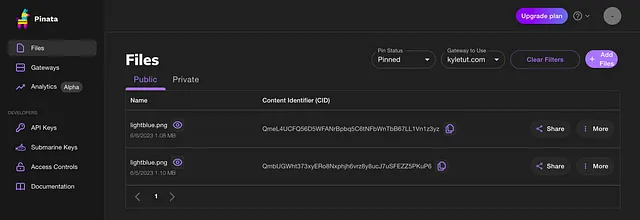
要上传到Pinata,请访问https://pinata.cloud并创建一个帐户(如果您还没有帐户)。创建帐户后,单击右上角的“添加文件”以上传您的图像。将它们作为单个文件上传。
一旦上传成功,要打开并获取图像的URL,只需单击文件名或文件名旁边的眼睛图标即可。
这是通过我的个人Pinata专用网关和自定义域名提供的链接之一。
Keeping HTML Structure
将以下英文文本翻译成简体中文:
Translate the following English text to Simplified Chinese:
Welcome to our website! We offer a wide range of products and services to meet your every need. From household essentials to luxury items, we have it all. Our team of experts is dedicated to providing you with the highest level of customer service and ensuring your satisfaction with every purchase. Browse our site and find the perfect item today!
欢迎来到我们的网站!我们提供各种产品和服务,以满足您的各种需求。从家庭必需品到奢侈品,应有尽有。我们的专家团队致力于为您提供最高水平的客户服务,并确保您对每次购买都满意。浏览我们的网站,找到完美的物品吧!
我们将在接下来的ChatGPT提示中使用这些图片URL链接。
使用ChatGPT生成代码
有了您的图像准备好了,现在是创建您的AI生成的Instagram应用程序的时候了。为此,我们将使用OpenAI的ChatGPT生成必要的HTML、CSS和JavaScript代码。以下是步骤:
访问OpenAI网站并注册一个账户,如果您尚未注册。转到ChatGPT部分。我在本教程中使用了ChatGPT-4。
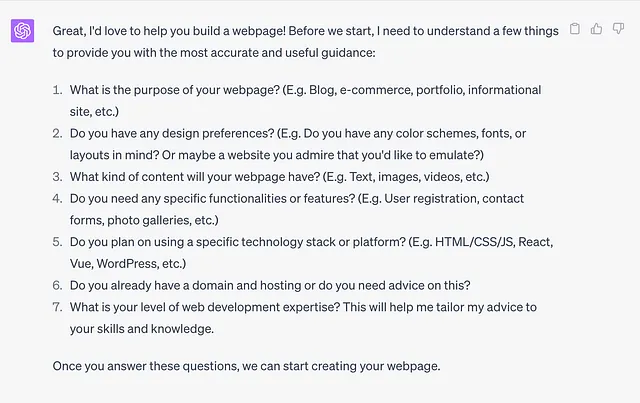
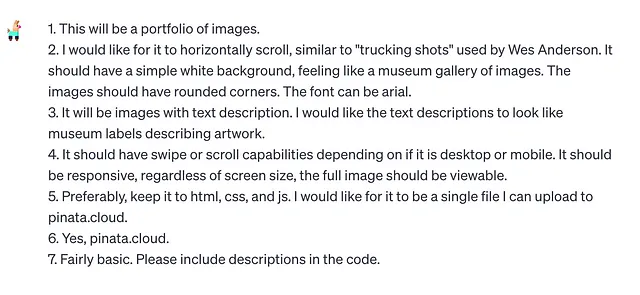
以HTML结构为基础,将以下英文文本翻译成简体中文: 开始与ChatGPT对话,并提供详细的说明。 作为我们的示例,我用以下方式提示:

ChatGPT 回复了以下内容:
把以下的英語文本保留HTML結構,並將其翻譯成簡體中文: Title: My Family
我的家庭
Introduction
Hi there! My name is Sarah and I want to introduce you to my family. We are a small family of four. There's my dad, my mom, my younger brother, and me.
My Dad
My dad is a mechanic. He fixes cars at a local garage. He's always covered in grease and oil. But I think he likes it that way. He's one of those people who is never happier than when he's working on something.
My Mom
My mom is a nurse. She works at a hospital just a few miles away. She's really kind and caring. She sometimes works long hours, but she never complains. She always has time for us.
My Brother
My brother is only two years younger than me, but sometimes it feels like a much bigger gap. He's really into sports, especially basketball. He plays on a local team and is always practicing his moves. He's not as interested in school as I am, but he's a good kid.
Me
And then there's me. I'm Sarah, the oldest child. I'm really into reading and writing. I love nothing more than getting lost in a good book. I'm also a bit of a drama geek and have been in a few school productions. I'm not really sure what I want to do when I grow up, but I know it will involve words and stories.
这将会产生像以下代码一样的 ChatGPT 输出:
太棒了!有了这些规格,我们可以使用HTML、CSS和JavaScript创建一个简单的响应式便携式网页。让我们把任务分解成更小的部分开始吧:
- HTML内容结构
- 设计和样式的CSS
- JavaScript 用于交互性和响应性。
我会一步一步地指导您。记住,HTML 中的、CSS 和 JS 中的/* */注释是我的说明。
步骤1:HTML 结构
我们首先定义网页的HTML结构。在这种情况下,一系列的 div 容器,每个容器都包含一个 img 标签用于图片和一个 p 标签用于描述。
<!DOCTYPE html>
<html>
<head>
    <title>Image Portfolio</title>
    <!-- We will insert our CSS and JS here -->
</head>
<body>
    <div class="gallery">
        <!-- Each artwork will be in its own div with the class 'artwork' -->
        <div class="artwork">
            <img src="path_to_your_image1.jpg" alt="description of image1">
            <p class="label">Image 1 description goes here</p>
        </div>
        <div class="artwork">
            <img src="path_to_your_image2.jpg" alt="description of image2">
            <p class="label">Image 2 description goes here</p>
        </div>
        <!-- Repeat this div structure for all your images -->
    </div>
</body>
</html>
第二步:CSS 样式化
接下来,我们将添加CSS来提供您描述的样式。这将位于文档的
标签中的